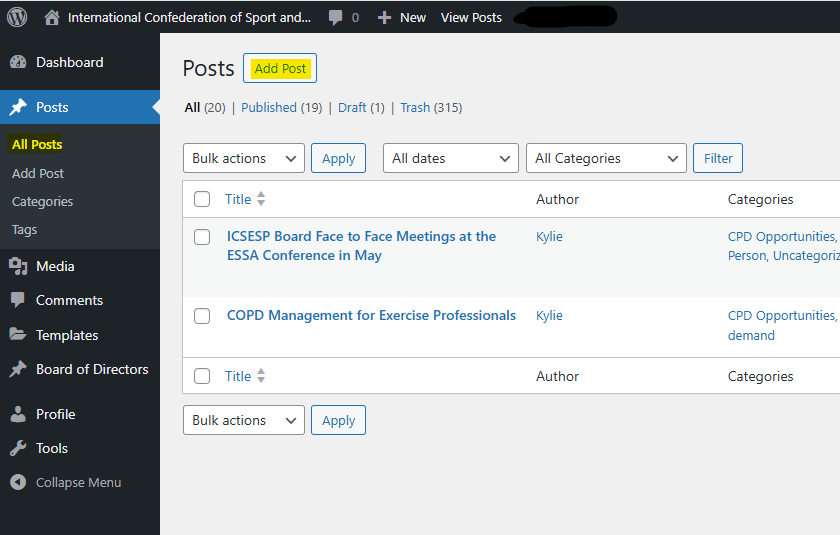
Step 1: Add a post
From the dashboard go to Posts > Add Post
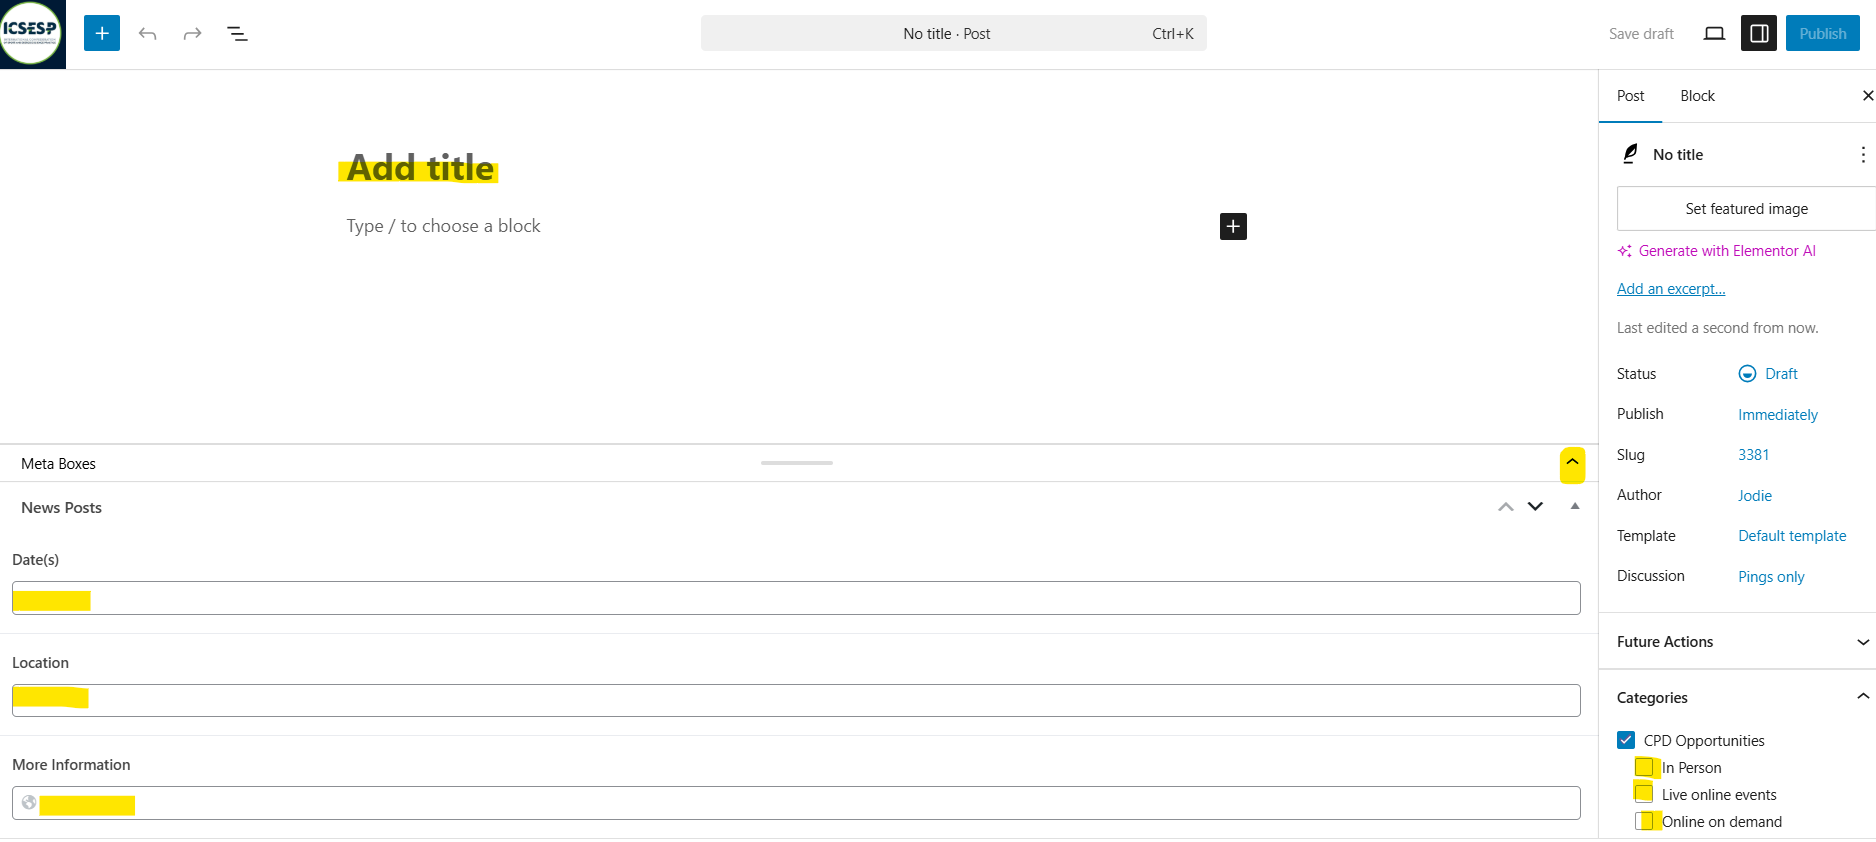
Step 2: Add a CPD information
If the fields aren't visible ensure "CPD Opportunities" is checked, then find "Meta Boxes" at the bottom. Click the little arrow on the bottom right, Add:
Title
Brief description (250ch limit) in "Type / choose block.."
Date
Location ("Online" if it's a webinar)
A full link in the More Information field
Check one of "In person" / "Live online events" / "Online on demand - this controls which page your post will be on. Leave CPD Opportunities checked.
Add a post tag (underneath categories)- on the front end this is what displays here "In association with {tag}". Just start typing and your options will appear. You should be able to add new tags here too.
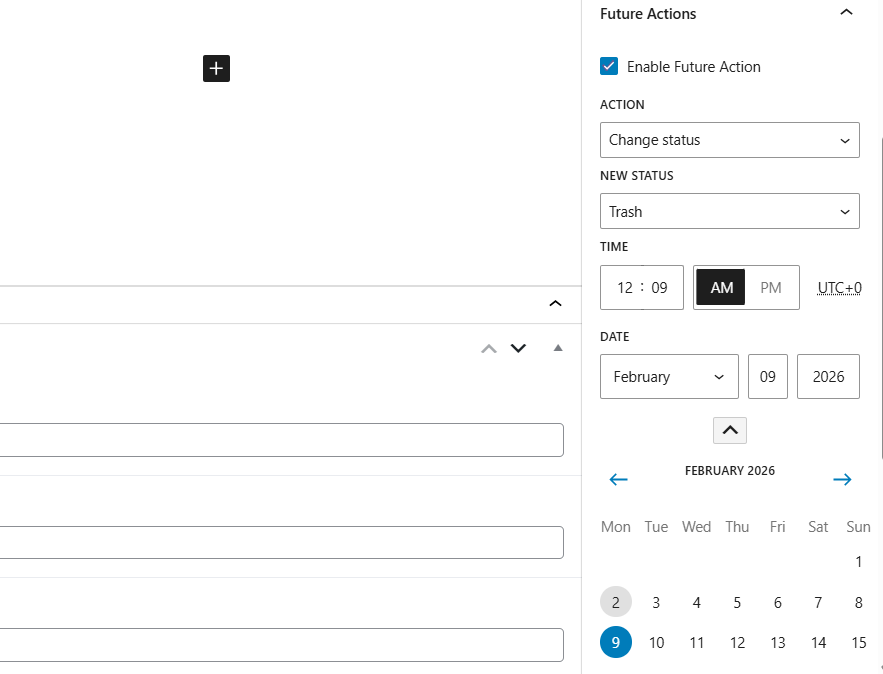
Step 3: Set expiry date
Check "Enable Future Action" on the right side menu (if you can't see it, confirm "Post" is selected at the very top.)
Select expiry date using the date dropdowns or the calendar.
Leave Change status > Trash as this will unpublish the post on the selected date. The trash will be periodically emptied by website admin.
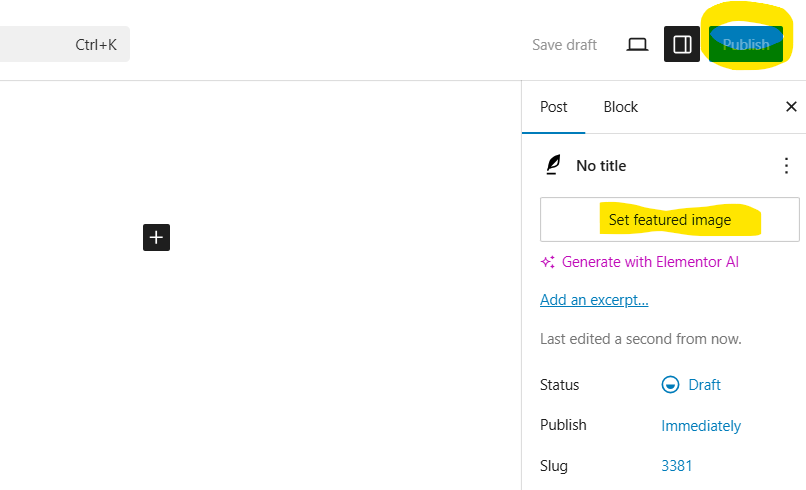
Step 4: Set image and publish
Select "Set featured image"
Drag and drop your image to upload.
The ideal sized image is 600px x 400px
Hit Publish once you're done.